A friend of mine created this image for me. This is the character that will be used in my future paintball website dedicated to do it yourself paintball. She is pictured holding my personal weapon. Isn’t she lovely?
Great Work Byron!!!

A friend of mine created this image for me. This is the character that will be used in my future paintball website dedicated to do it yourself paintball. She is pictured holding my personal weapon. Isn’t she lovely?
Great Work Byron!!!
I broke the machine… well it broke itself when i wasent looking. i’ll post some pics, i havent messed with it for a couple weeks, i have been working on another project that i will also post pics of.
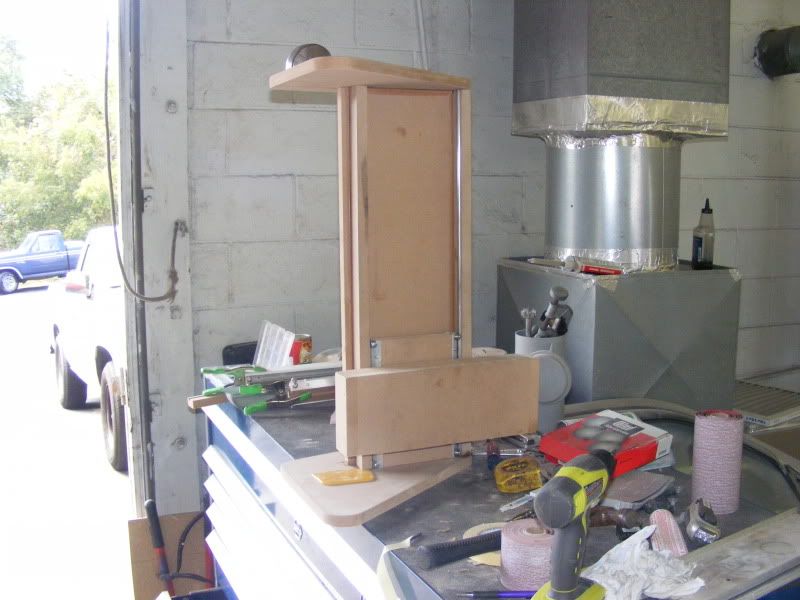
Here are some pics of some things i have made, the wood peice is the first prototype cut for my paintball gun. The paintball gun is also pictured in the rendered cad photos.


Ok I have been playing with my completed CNC Machine for a week or two. I have built many prototype items for practice. So far I have cut 2d, 3d and 2 sided 3d parts with my machine. I have also made a couple aluminum parts that I plan to post photos of on here soon. My new undertaking is a major project and I’m working on the beginning steps now.
I have decided to recreate the P90 paintball project from scratch wishing molding and milling techniques that I have been picking up over the last several months. I am attaching some pics, one of which is a CAD drawing of my P90 internals to machine out. Expect other photos of projects soon.
O, and the pic of the multipurpose machine is just somthing i’m interested in adding to my workshop :P


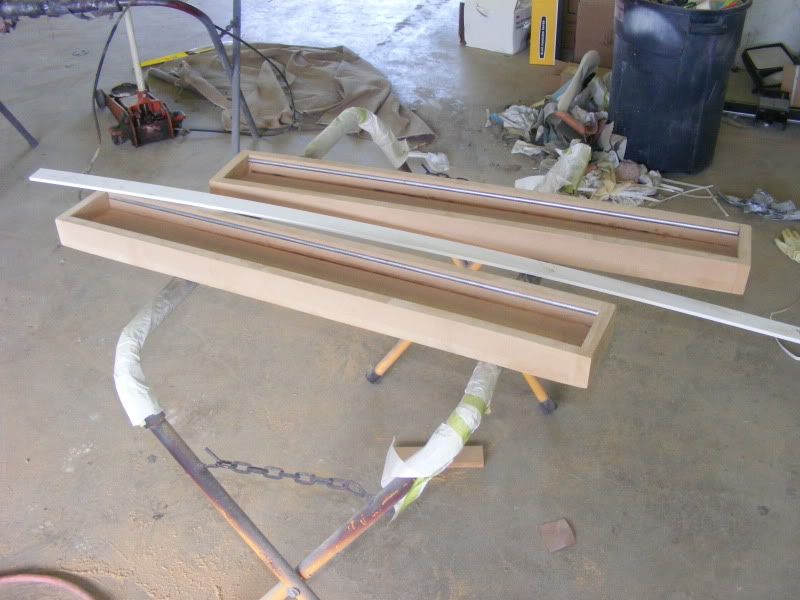
Ok I got the machine up and running!!! And I made my first cnc’ed part, it’s just a bearing block for the machine to keep the lead screws from whipping around. but it’s still cool :P I will be posting a full update soon.
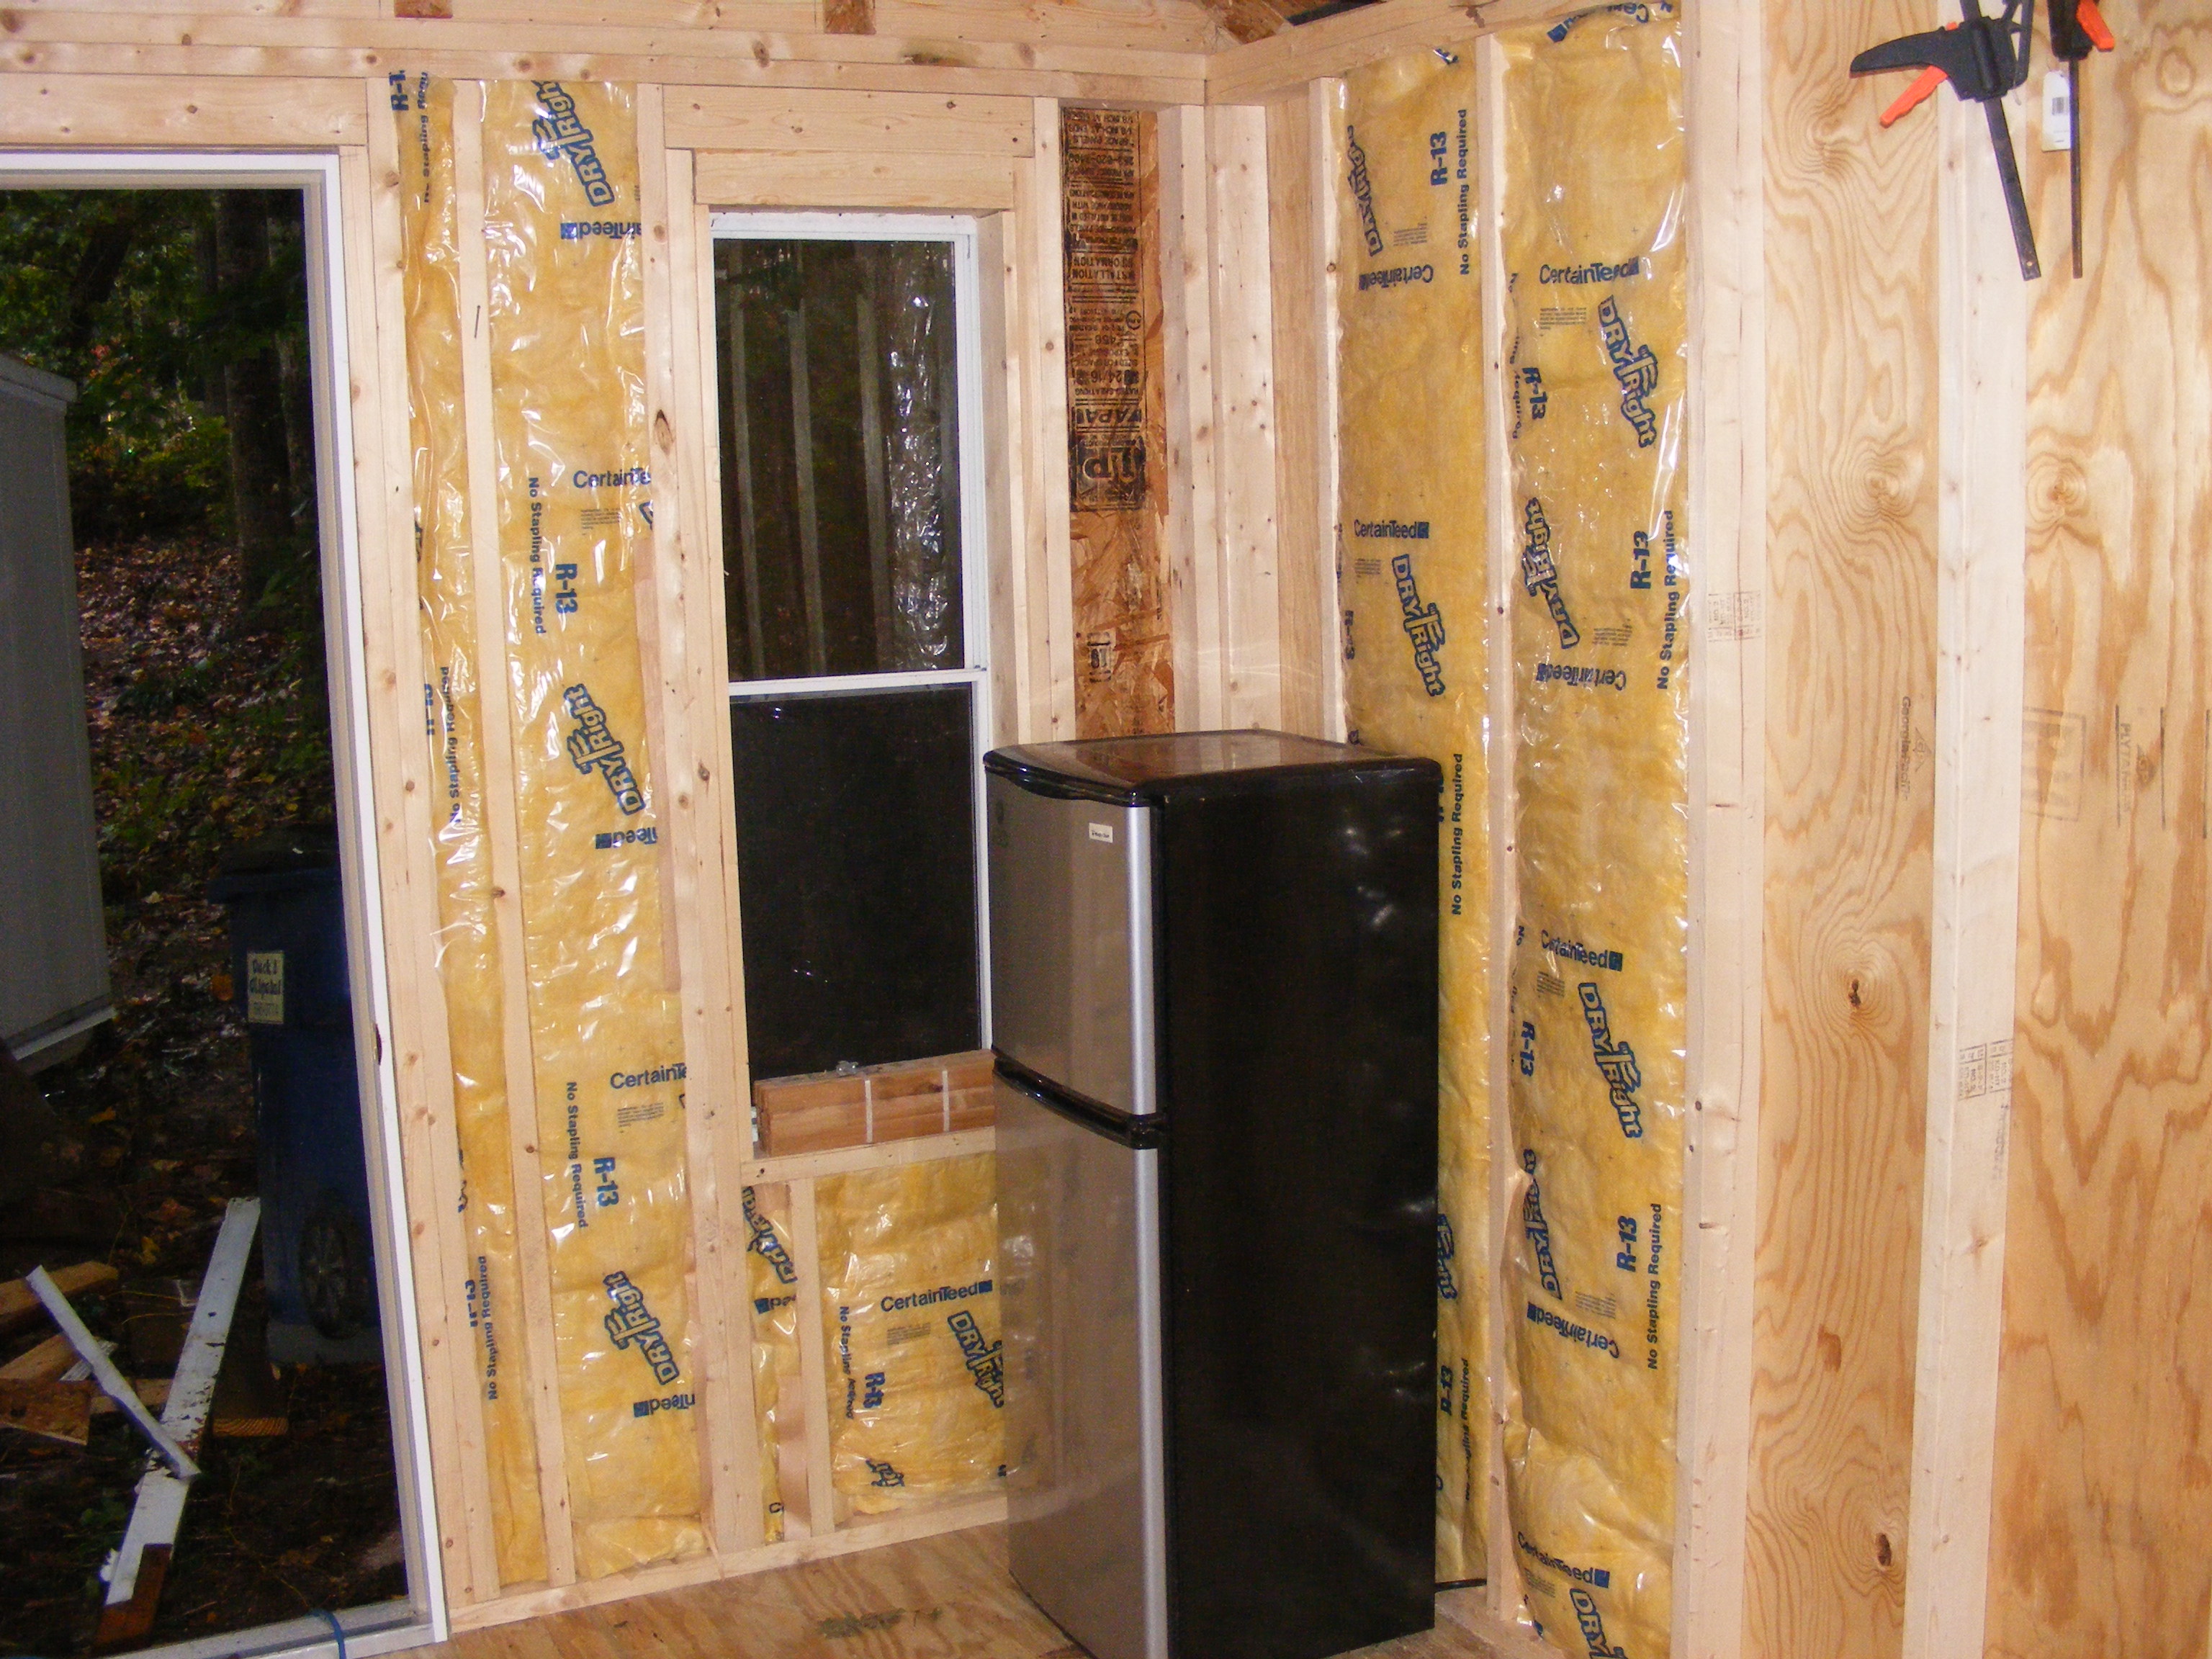
I have run the wiring for the lights in the workshop, I also ran wiring for the receptacles. All of the lights/receptacles are installed and working but they are running on a temporary circuit from an extension cord. This is just until I can get help putting in the 100 Amp box and running the heavy wiring underground from the house to the workshop. My father is helping me with that bit. At least I can see in the shop now and can move on to finishing the walls and ceiling and insulation etc.
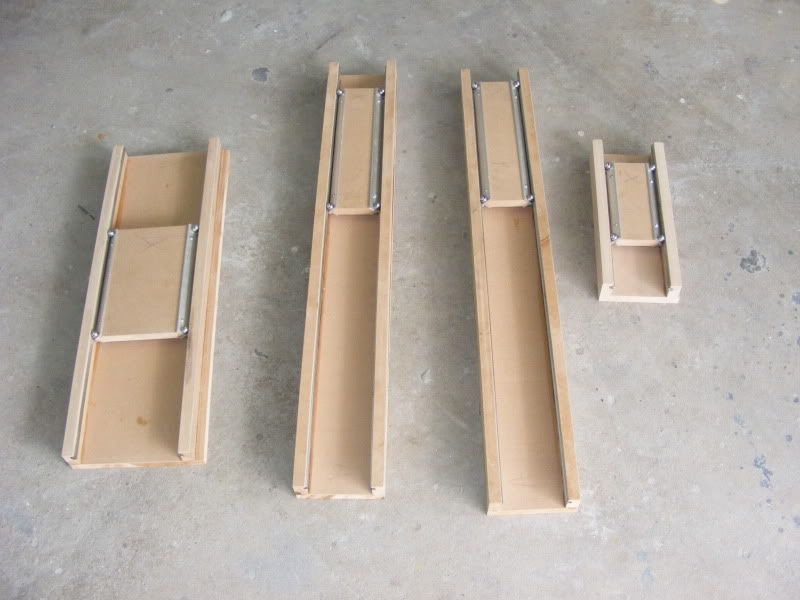
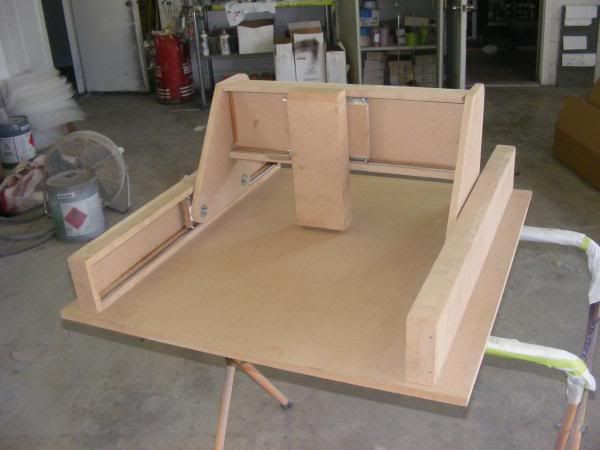
I added all of my electronics(at least for now) except for one motor on the z-axis that came in damaged. I also added my e-stop button, later I will add limit switches but I just want to cut a few things for fun first. I also built myself some custom couplers to connect the lead screws to the motors. I just used a nylon spacer for the couplers and drilled/tapped them to accept a small allen screw bolt. I grinded a flat spot onto my lead screws to make them hold better. Here are some pics.


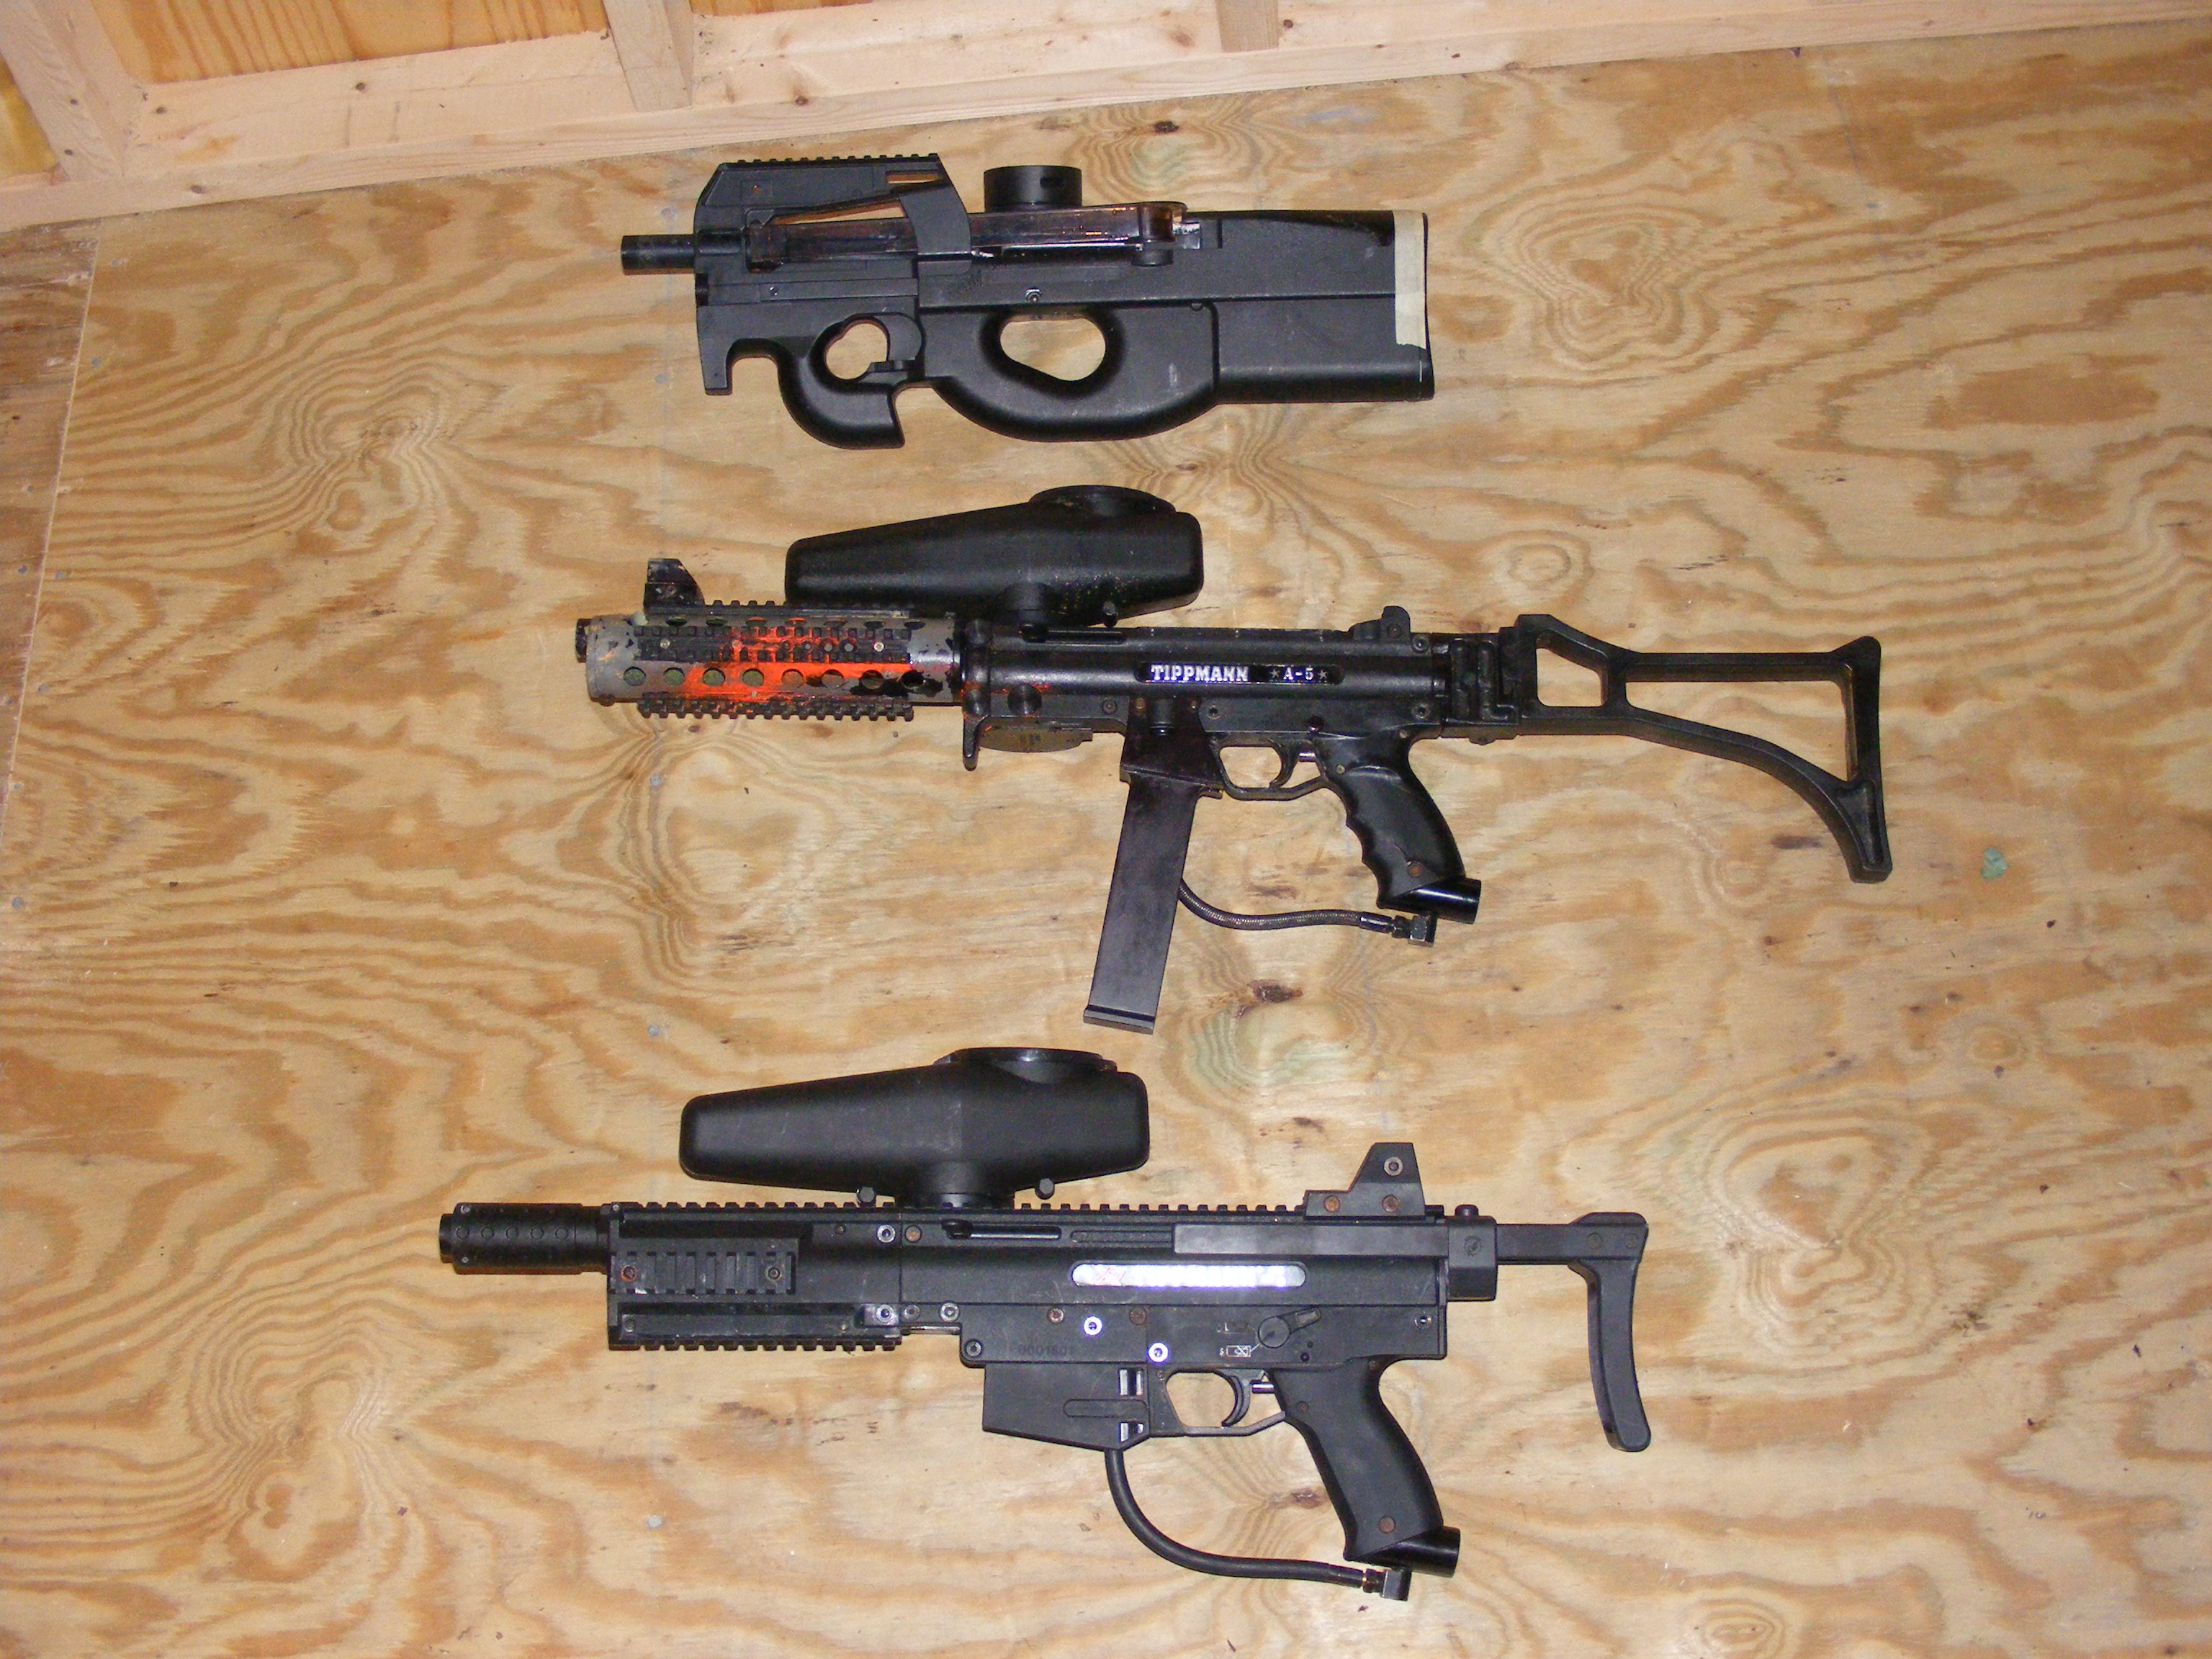
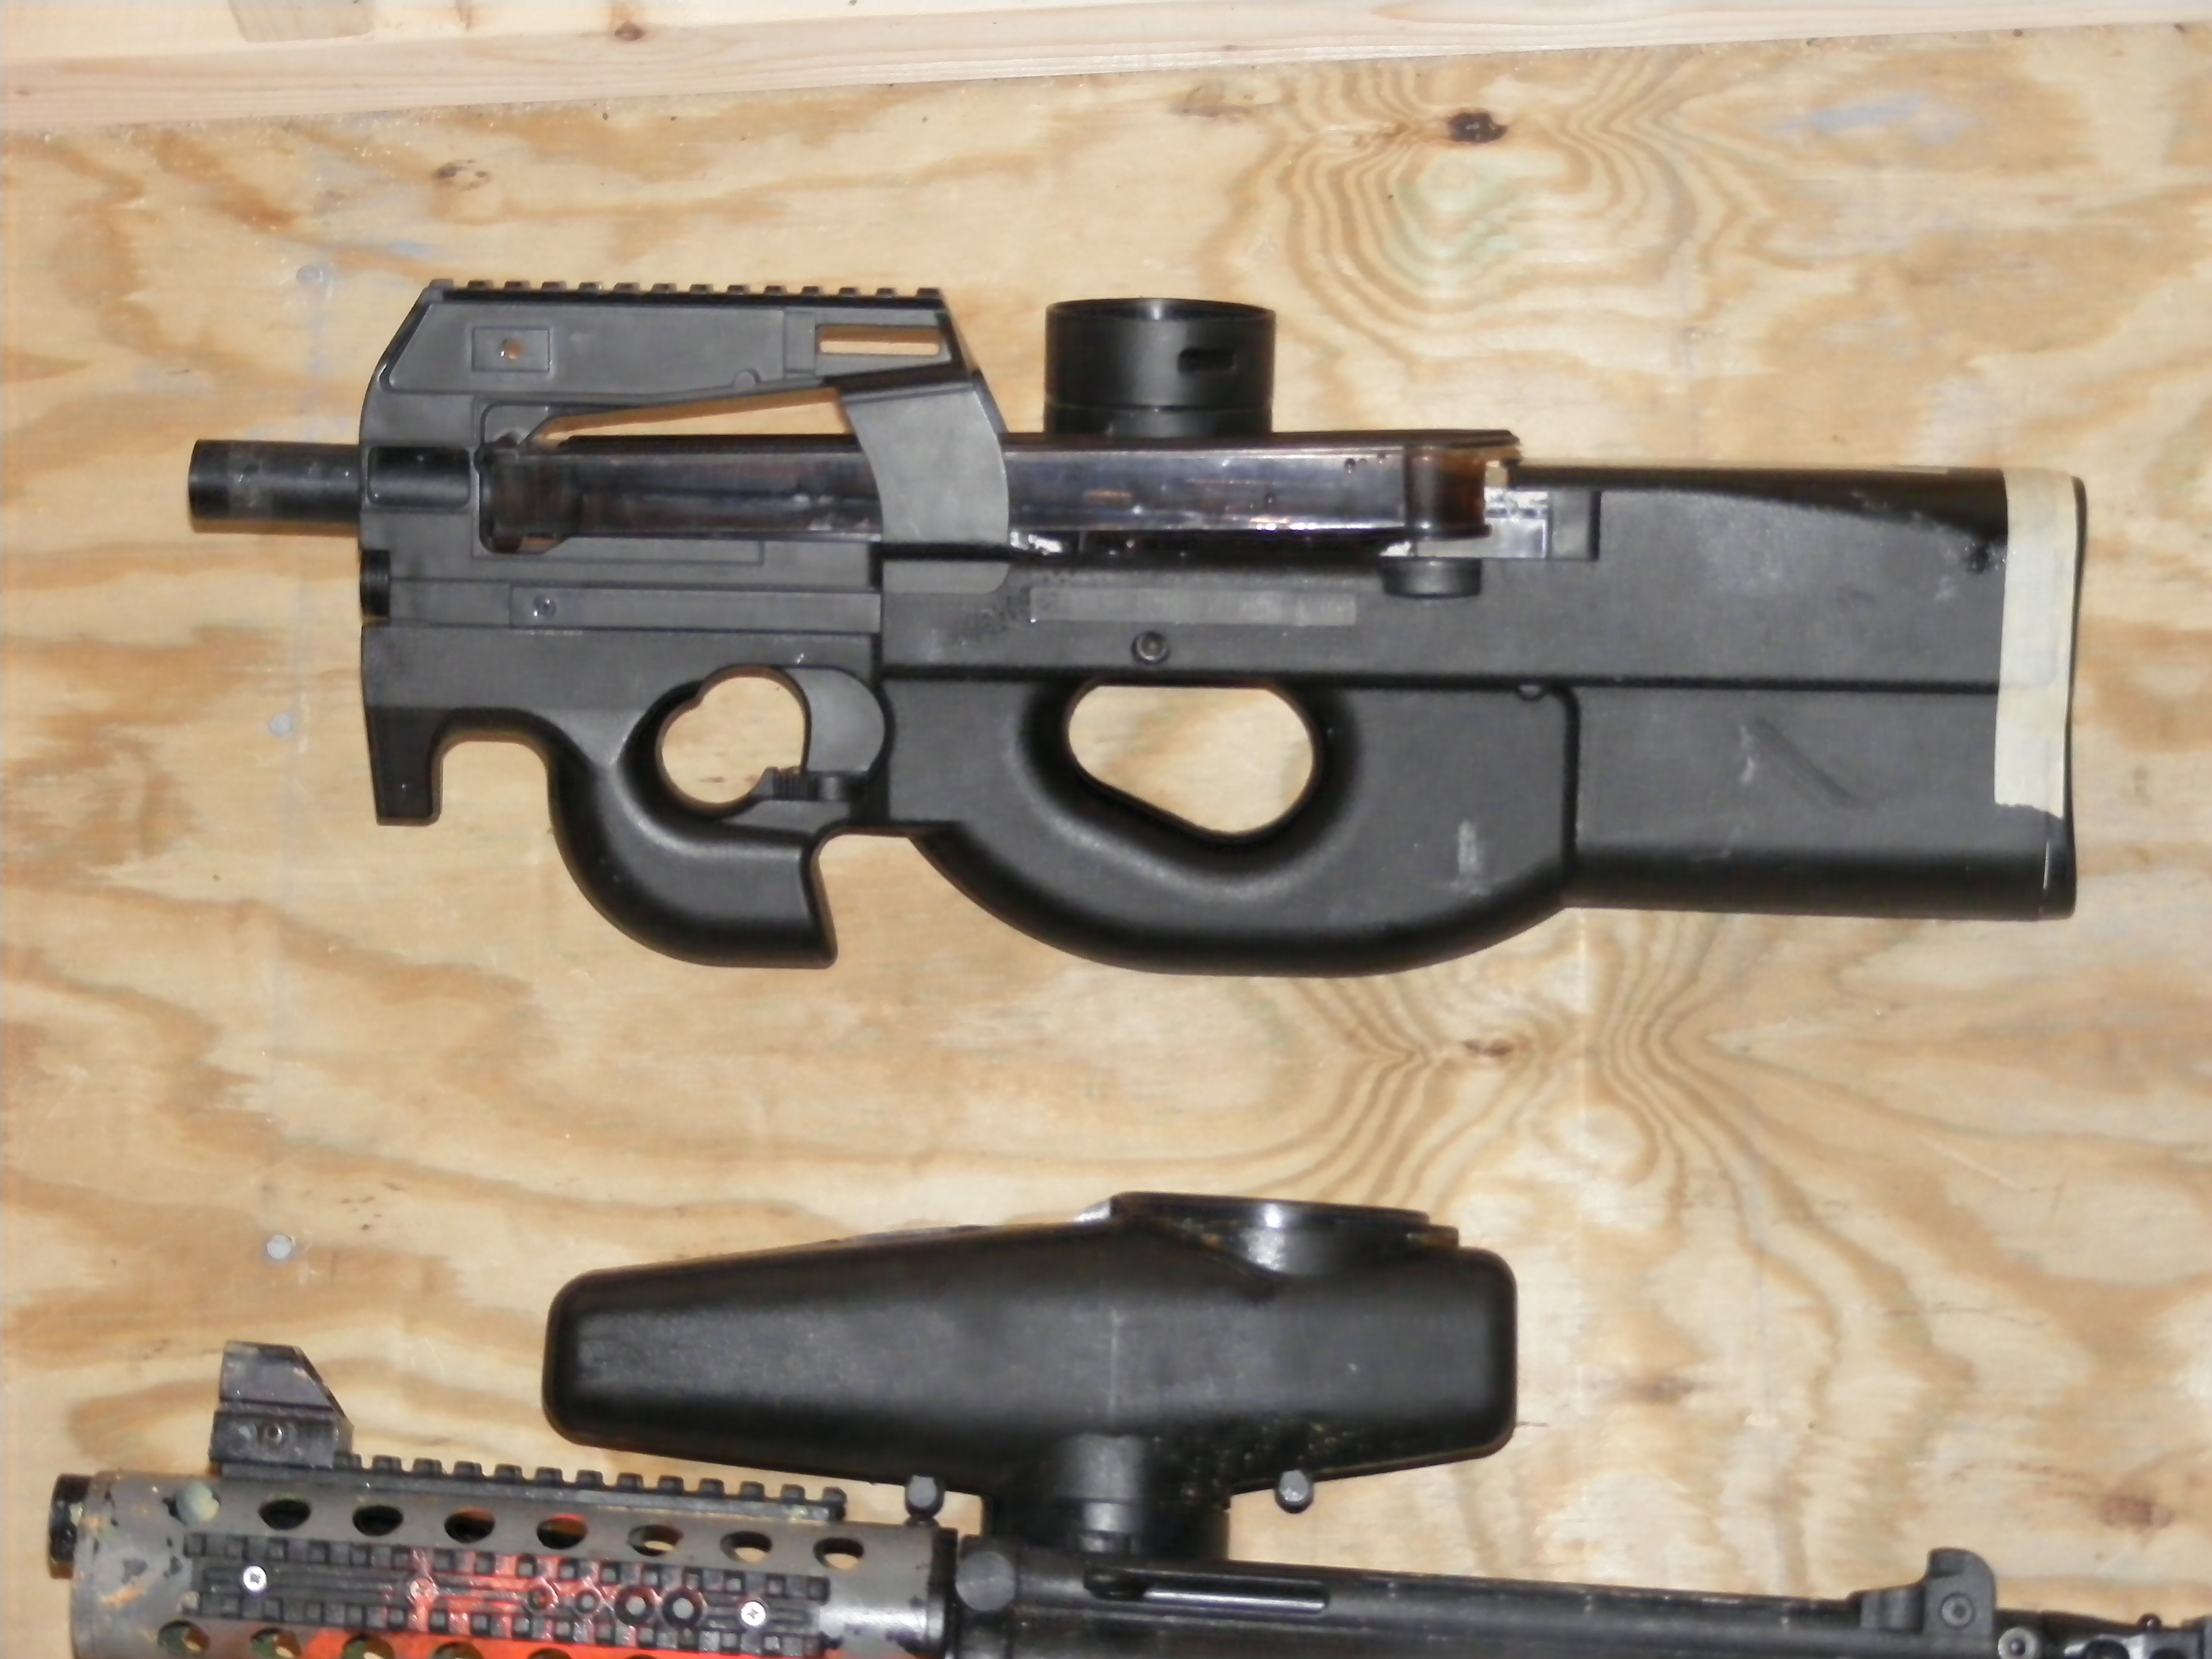
Ok I am working on a couple… ok dozens of paintball projects, but the two I feel are worth of mentioning are my Begin P-90 paintball gun w/ e-grip and flatline barrel and my Milkor MGL replica nerf launcher for paintball. Other people have done the P-90 before but I think I’m the first to do it with a flatline and a 100% custom designed e-grip. Of course I’m still working on the e-grip everything else is ready and it’s a beaut. I also pictured my A-5 and X-7. My A-5 is my weapon of choice but I’m hoping the P-90 will replace it.
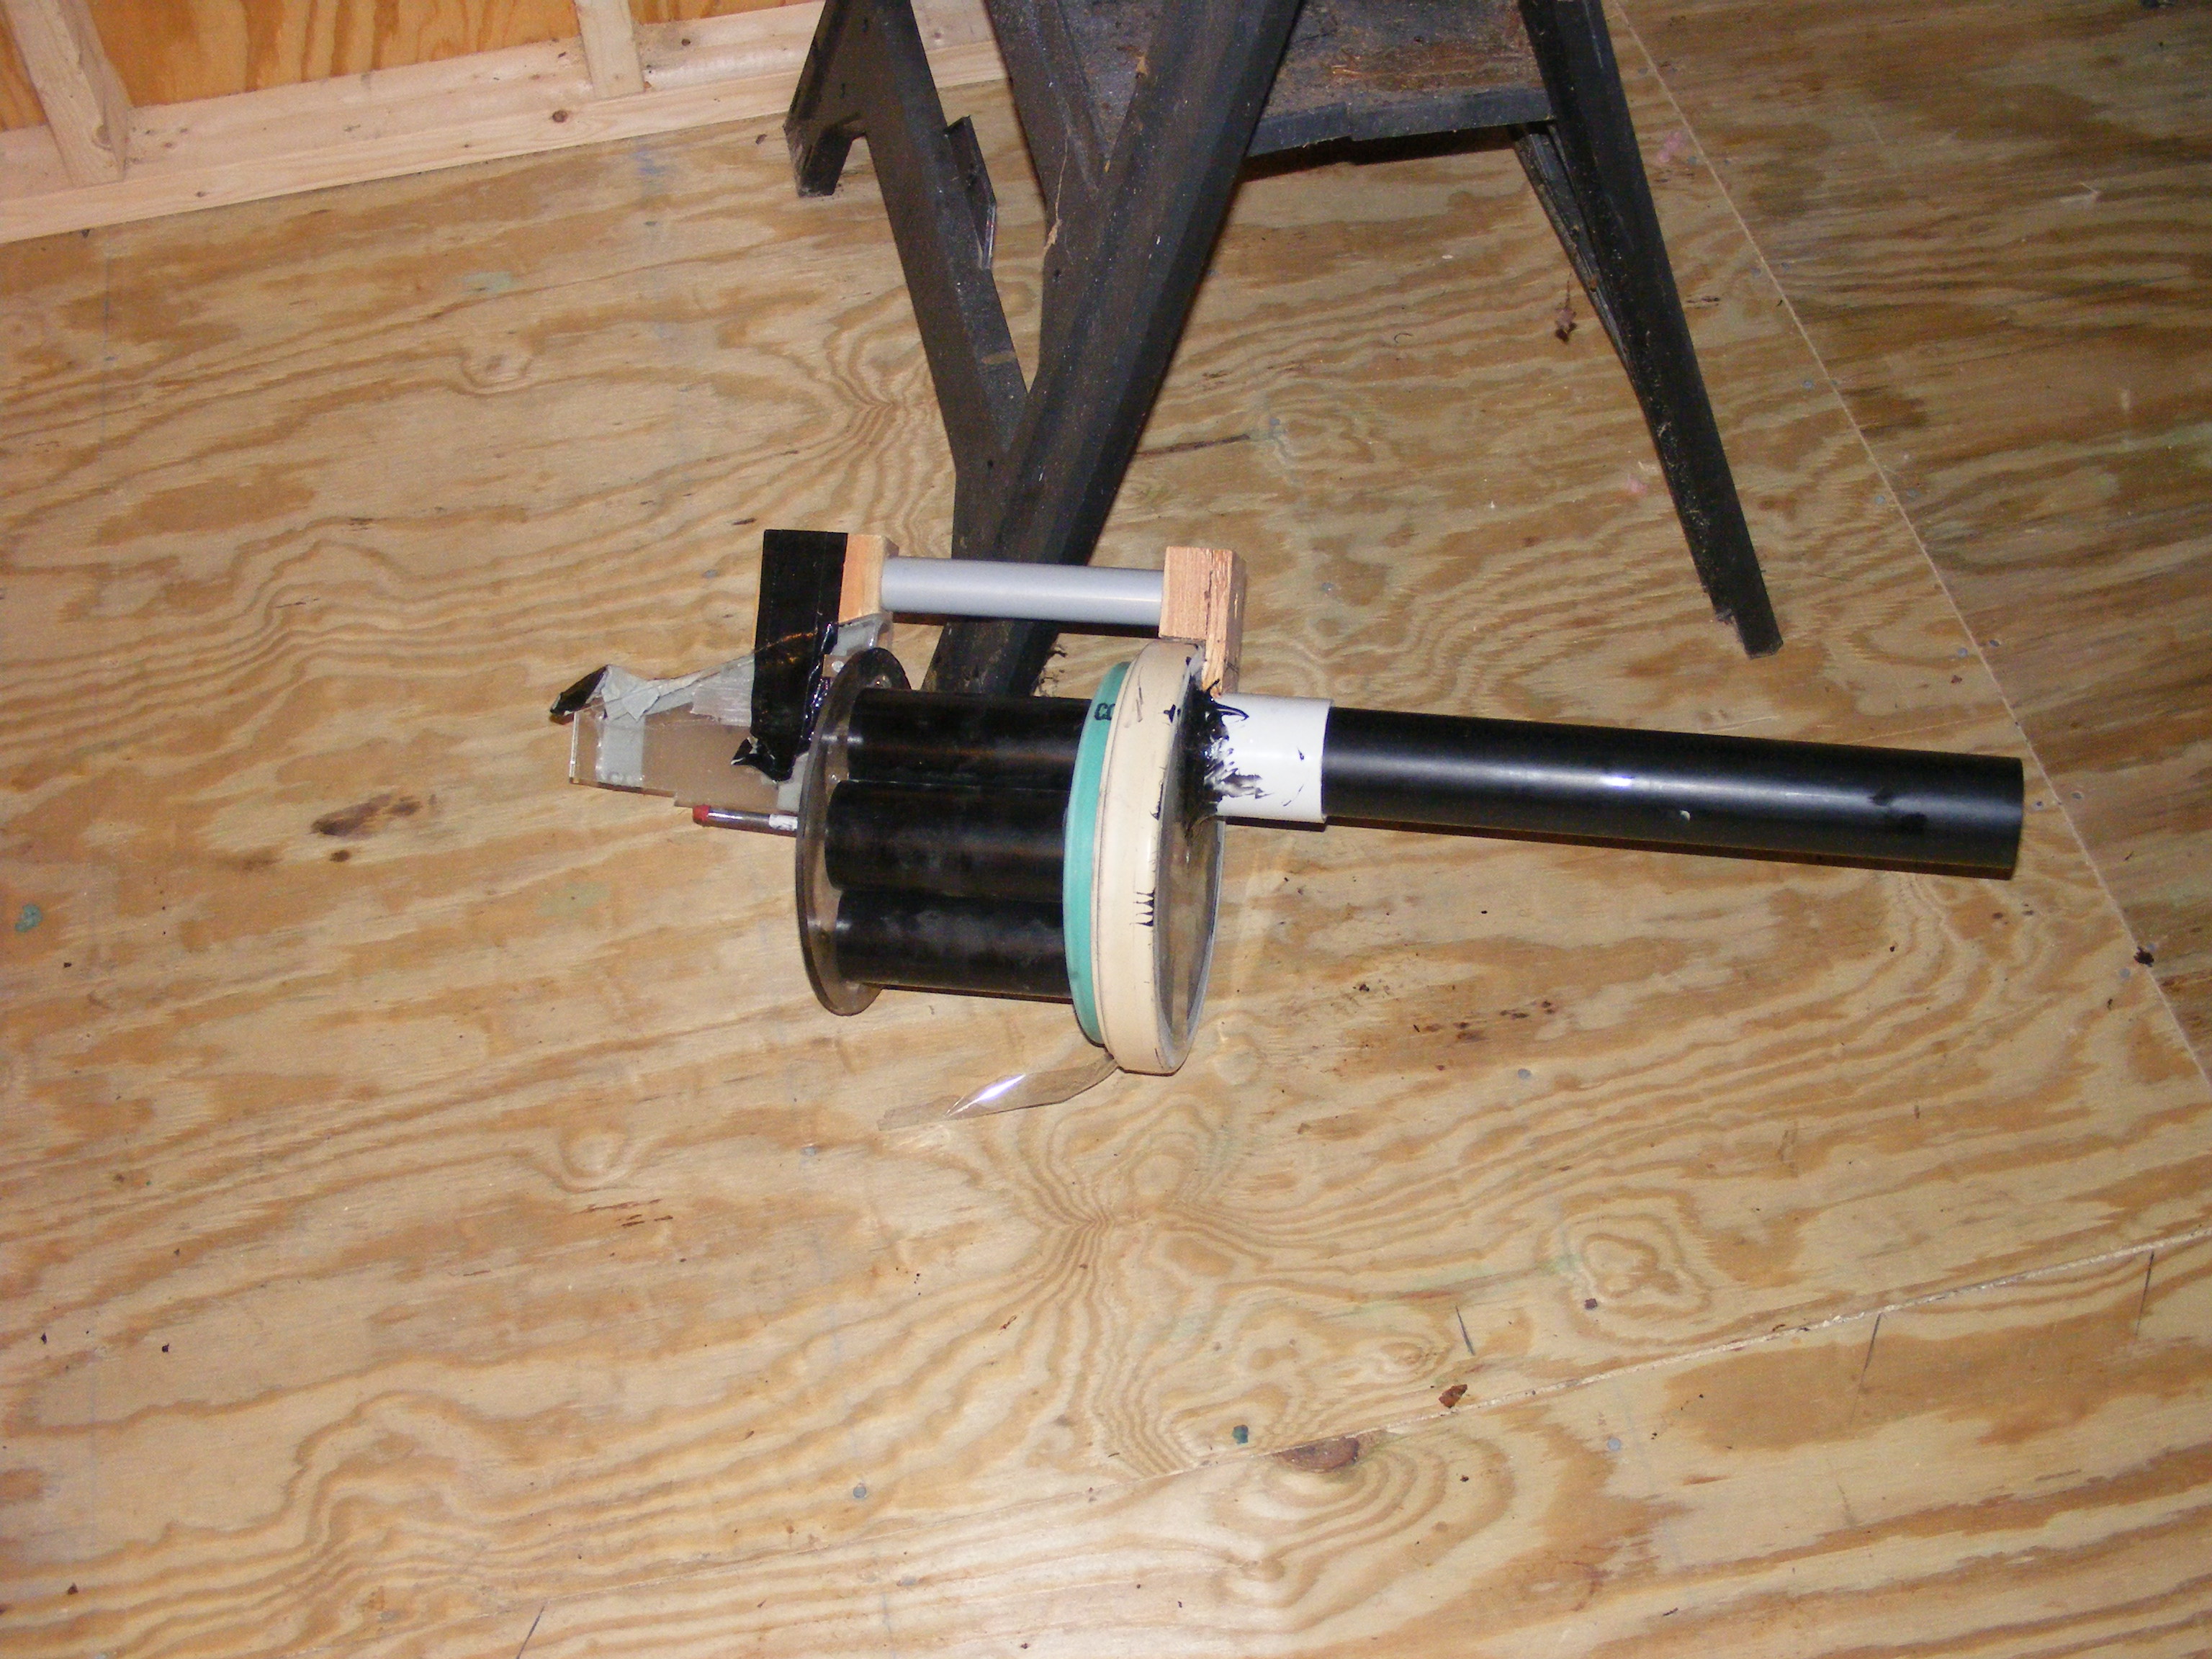
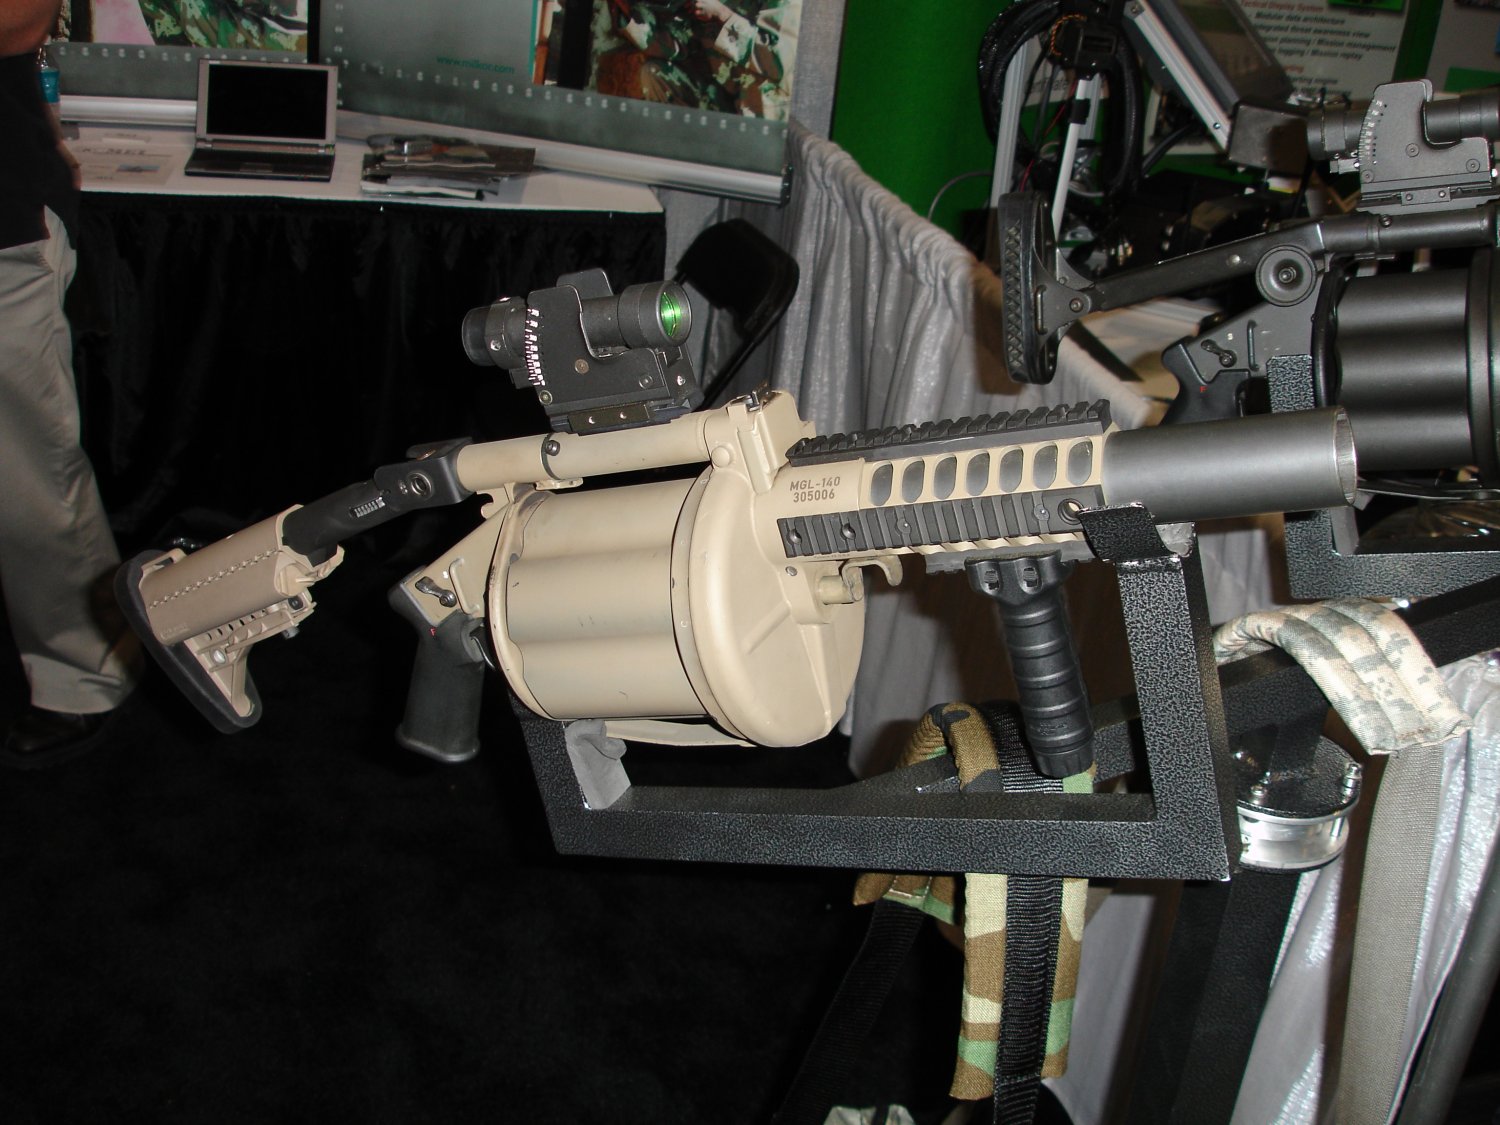
The Milkor MGL is a revolver type six shooter grenade launcher. I think I’ll be the first to build a launcher of this type for paintball. Rap4 has one that uses those 80 dollar shells but my will use standard nerf round that are commonly used in scenario paintball games. I originally intended it to shoot paint grenades but I couldn’t get enough air to move the grenade fast enough.
When I’m finished it should be very similar to the real Milkor MGL.
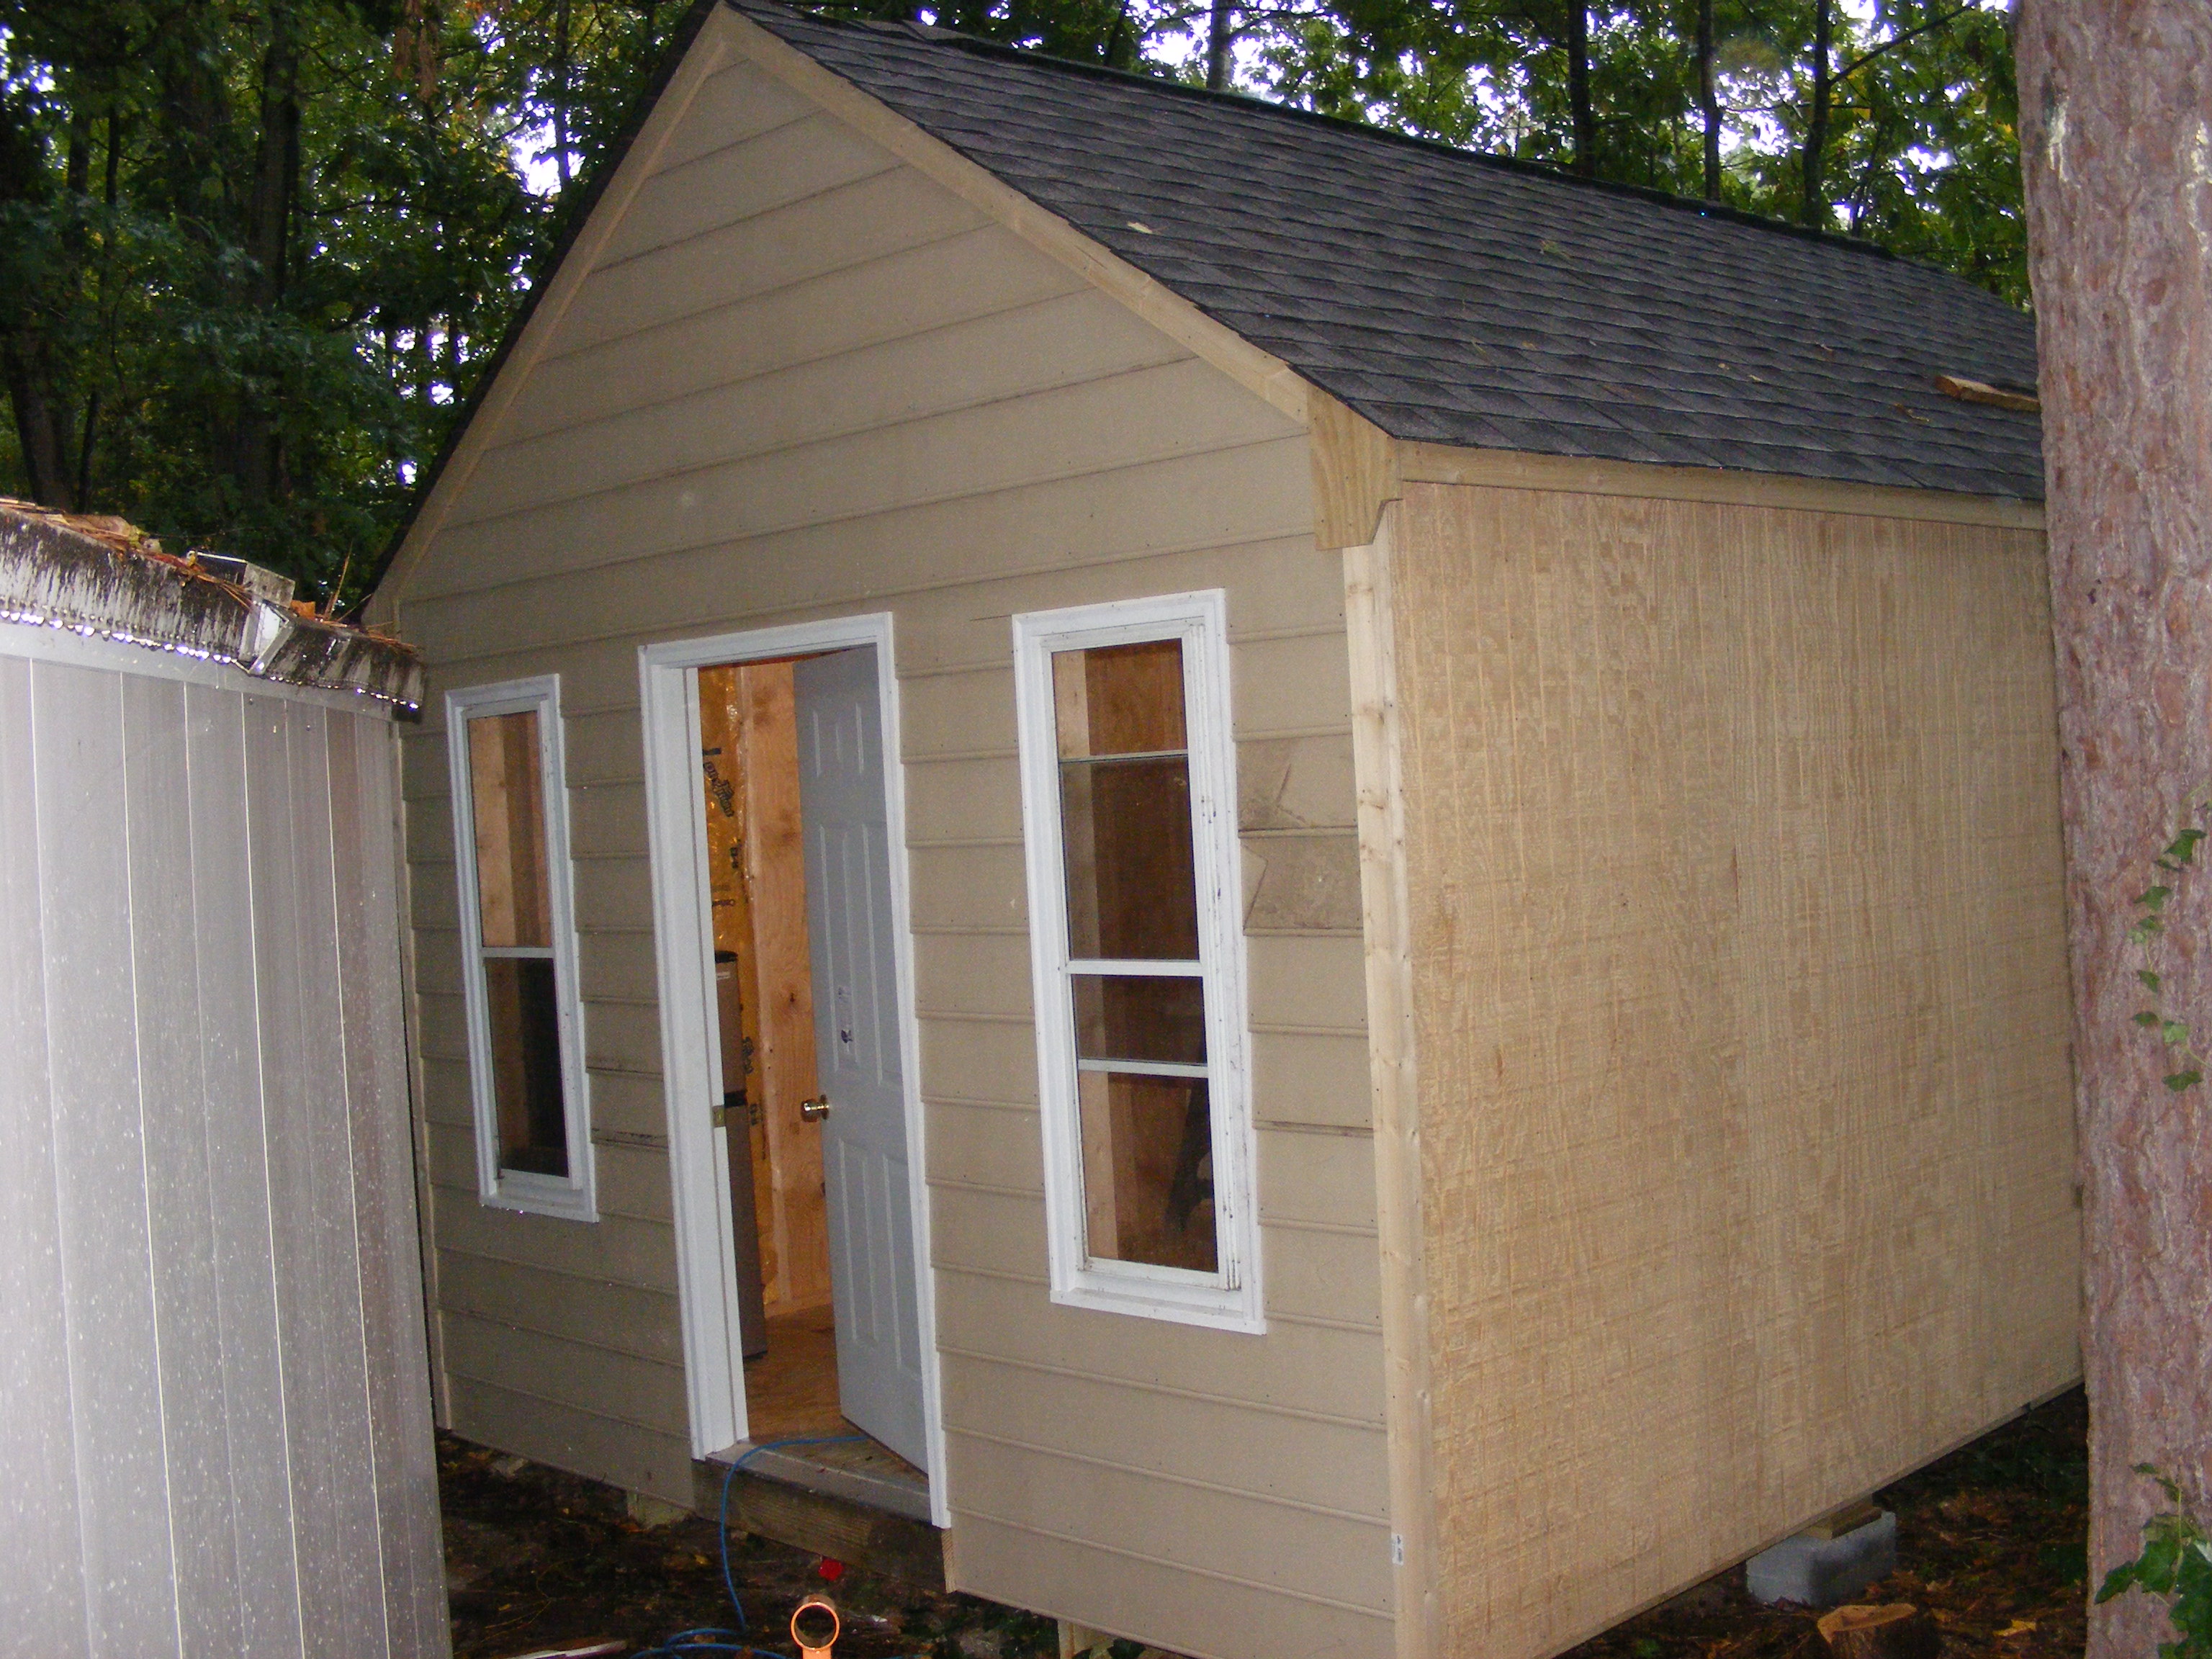
I figured I would post a pic or two of my workshop that’s still under construction. Its been raining so I haven’t been able to paint it yet. I had one roll of insulation in the attic of my house so I used that on the shed, I need 10 more rolls for the walls, more for the roof and floor(if I decide to go back and do the floor). I did the front to match the house, masonite siding, and the other sides T1-11 because it’s much cheaper. Overall its 12’ x 20’ and that should be enough space for me for a while…
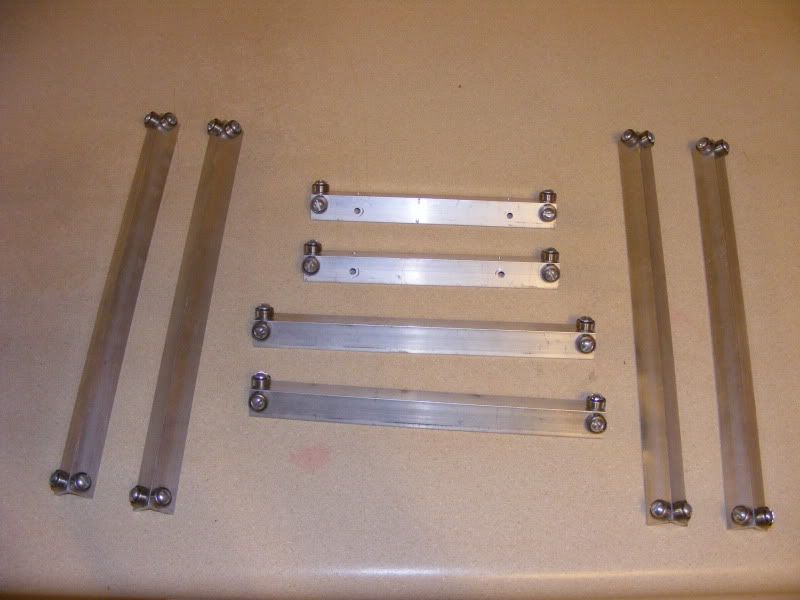
I just revieved the electronics for my cnc build today, I am posting the picures of the initial construction of the machine.